A Tuesday tutorial
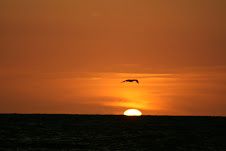
Black and White photography with a splash of color
I thought I would post a tutorial on how to achieve this effect as it has always been one of my favorites.
 The first thing you always want to do when editing your pictures is save a copy. For example, if the picture is called yellowflower.jpg, you want to save a copy called EDITyellowflower.jpg and always and only work with the EDIT.jpg. Trust me on this one, you never want to skip this step.
Step 1:
Open your edit.jpg in your favorite graphic program and copy and paste the picture on your story board. Now you will have two of the same picture open in your program. Most programs have a 'erase' function where you can delete or white out areas of your picture. Most also have an edge finder. You will want to outline the part of the picture that you are going to keep and delete it.

I know that sounds backwards but in time you will see where we are going. Once you have deleted the area you should see something like this:

Step 2:
As I have done above, now is the time to transform your picture to black and white. This is also the time to add any other effects like blurring or texturizing etc. The sky is the limit and remember you are only editing a copy, so you are not committed to anything. If you have any problems: control-Z is your friend, simply undo your last step.
Step 3:
In the final step you want to make sure first that the black and white picture is on the top most layer. Usually if you right click on the picture, most programs will give you an 'order' or 'arrange' option. Remember that first step where you copied and pasted an extra picture on your first story board. Go back and copy it again and this time paste it in the window you are working on where the black and white picture is located. Now all you do is slide it into place underneath the black and white picture. Voila! You're done.
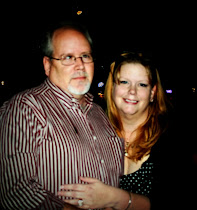
Once you do it a few times it will become second nature and very easy. What I love most about this option is the versatility it offers to clean up your pictures. For example, here is an original picture from Frodo and Butter's wedding:
I really loved the way they were looking at each other but wasn't too keen on the folks looking on in the background. So I cropped the picture, put the background and the cropped section into black and white and blurred the background it a bit using the same technique as above.
I think it is simply gorgeous. Please let me know if you have any questions now get to playing with your pictures!
~ame


Linky no worky
Anonymous said... June 15, 2009 at 6:51 PM
Which editing program do you use?
Anonymous said... June 16, 2009 at 8:46 AM
It depends, I use MM Fireworks, Photoshop Elements, Illustrator or an old Microsoft program called Photo Draw. My favorite is Fireworks though.
Mrs. Ohtobe said... June 16, 2009 at 9:07 AM
Post a Comment